
Sequencing work so safety-critical jobs come first and cosmetic jobs wait their turn is the real meaning behind preparing your home, and this guide walks through that order in everyday scenarios. A leaking gas valve, a dead smoke detector, or a cracked foundation seam always outranks a new backsplash, no matter how appealing the weekend looks. Most homeowners waste hours scrubbing baseboards while a slow leak warps the subfloor behind the wall, which is why a clear framework beats a long to-do list.
This guide walks through one priority framework, then branches into four scenarios: move-in, sale-ready, seasonal, and emergency. You will learn how to inspect safety systems, deep clean the rooms that matter most, layer curb appeal by budget, document the property for insurance, and build a recurring rhythm that keeps small problems from becoming expensive ones.
The Master Prep Framework Every Home Needs
Most scattered to-do lists fail for the same reason: they treat every task as equal. A useful framework sorts work into four priority tiers, and Tier 1 covers anything that can injure occupants or cost thousands within weeks, including active leaks, exposed wiring, and non-functioning smoke detectors. Tier 2 covers systems that quietly degrade, like a seven-year-old water heater or a dryer vent clogged with lint, and Tier 3 holds high-visibility upgrades that move the needle on price or comfort. Tier 4 covers cosmetic finishing touches that can wait until the rest is handled.
Four preparation scenarios share this backbone even when the surface tasks look different. Move-in prep prioritizes deep cleaning and a safety sweep, sale-ready prep front-loads repairs and staging, seasonal prep focuses on weatherproofing and HVAC service, and emergency hardening assembles supplies and documents the home’s pre-event condition. A home preparation checklist built on the tier system lets a single document serve all four paths, with scenarios acting as filters rather than separate worlds.
Why a Written Checklist Beats Mental Tracking
Memory underestimates how long multi-step projects take, then quietly drops the steps that feel small, so a written list fixes both problems. Each task gets a checkbox, a deadline, and a budget line, and the list becomes the source of truth everyone in the household can read. Documented tasks finish at higher rates than unwritten ones, partly because writing forces decisions about order and partly because progress stays visible, and for something as sprawling as preparing house for moving or any major event, that visibility separates a smooth week from a panicked Saturday night.
Safety Systems and Structural Inspections to Tackle First
A 30-minute safety sweep should happen before any cosmetic work, and it starts with testing every smoke detector and carbon monoxide alarm using the test button. Replace any unit older than ten years, confirm alarms sit inside each bedroom, outside sleeping areas, and on every floor, then check the fire extinguisher pressure gauge and expiration date. Place one extinguisher where it is reachable from the kitchen without crossing a flame, locate the main water shut-off, gas shut-off, and breaker panel, and label each one so a guest or contractor can act fast in an emergency.
Once the immediate safety layer is covered, schedule a professional inspection, because a pre-listing home inspection surfaces hidden repairs, faulty wiring, mold, foundational cracks, and plumbing defects that derail sales or endanger occupants long before a buyer notices. The same inspection serves anyone moving into a previously owned home, since sellers disclose only what they know about. Budget 300 to 500 dollars for a standard single-family inspection, and add more for larger properties or specialist follow-ups such as sewer line scopes or electrical audits.
Pests, Radon, and Region-Specific Hazards
Termite and pest checks belong in this same safety tier, especially in regions where wood-destroying insect reports are required before a sale, and a clear WDI report can move a closing date forward by weeks. In basement or ground-floor living spaces, a radon test costs about 20 dollars for a short-term kit and roughly 150 dollars for a continuous monitor. Long-term exposure above 4 pCi/L significantly raises lung cancer risk, and the EPA publishes mitigation guidance that walks homeowners through sub-slab depressurization systems costing 800 to 2,500 dollars installed. The earlier a hazard is named, the cheaper it is to fix.
Once those structural risks are documented, the next layer of prep,scrubbing, sorting, and patching,delivers the most visible payoff per hour spent.
Pause cosmetic work until Tier 1 and Tier 2 issues are resolved. A new paint color hides a wall, not the leak behind it.
Cleaning, Decluttering, and Repairing With Maximum Return
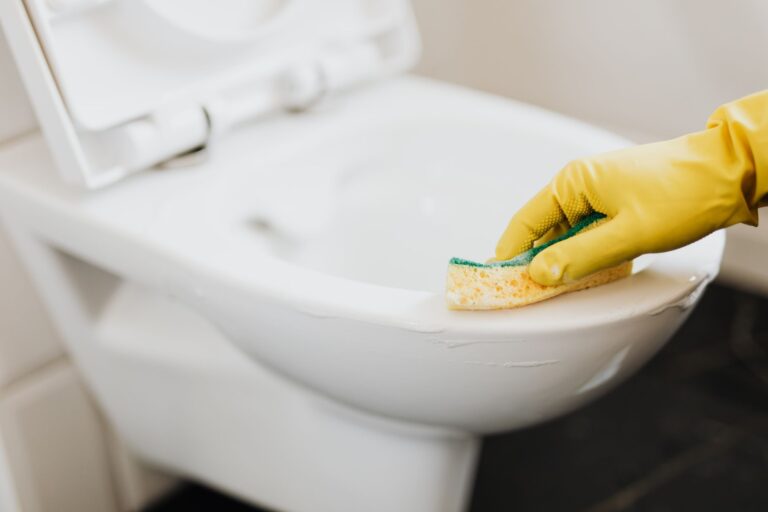
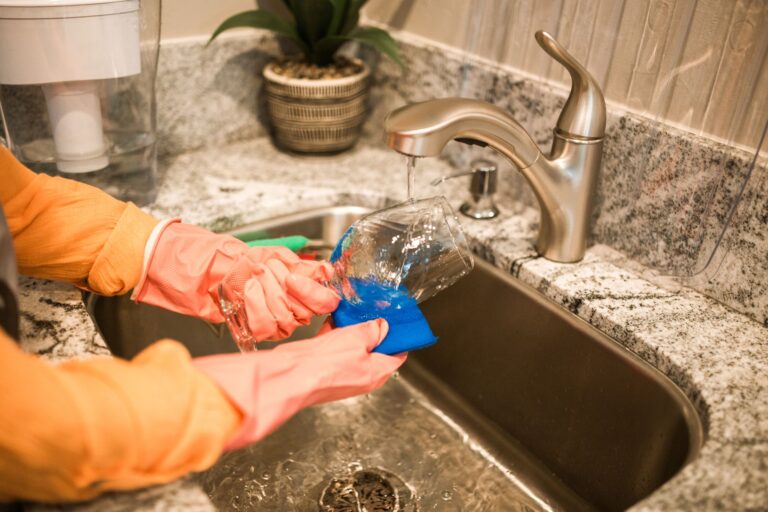
Deep cleaning kitchens and bathrooms first delivers the strongest return for the smallest spend, because these two rooms carry more emotional weight than any other space. Buyers, guests, and new tenants form their strongest impressions within seconds of walking in, so scrub grout, descale faucets, degrease range hoods, and clear the often-forgotten zones. Targets include the tops of cabinets, the inside of the oven door, the lip behind the sink, and the toilet base, and a dedicated set of cleaning supplies keeps the work from stalling halfway through the bathroom.
Decluttering and depersonalizing are the twin moves that turn a lived-in home into a sale-ready or move-in-ready one, so clear at least 60 percent of surfaces, store family photos during showings, and trim bookshelves to a handful of neutral objects. Professional staging can cut time on market by 30 to 50 percent, and the same principles apply when preparing for guests or a renovation crew. Even a weekend of staging-light work with borrowed baskets, neutral throws, and fresh flowers lifts the space without a full redecorating budget.
Repairs That Prevent Negotiations
Small physical defects quietly become negotiation points once a buyer or inspector notices them, so patch damaged drywall, silence leaky faucets, re-grout failing tile seams, and replace worn cabinet hardware, door handles, and outlet covers. A 20-dollar box of spackle and a 30-dollar faucet cartridge prevent 1,000-dollar credit requests at closing, and the rule of thumb holds steady across scenarios: anything that would prompt a guest to ask “what’s wrong with that?” belongs on the repair list before anything else.
Curb Appeal, Staging, and Visual Presentation
Fresh exterior paint, trimmed landscaping, and a clean entryway can lift perceived value by 5 to 10 percent with modest investment, since the eye lands on the front door first and sweeps outward. A painted door (about 50 dollars in materials), a swept walkway, and two planters of greenery do more than a thousand-dollar landscaping overhaul. Pressure-wash siding, walkways, and the driveway, clean windows inside and out, and replace or polish the house numbers and porch light fixtures so small moves compound into the “well-kept” signal buyers and guests register before they consciously notice anything else.
Photograph the home in natural light after preparation to maximize online listing engagement and in-person showings, shooting during the first two hours after sunrise or the final two before sunset. Turn on every light that matters and stage the rooms exactly as they will appear for a showing, because listings with professional or thoughtful photography receive noticeably more clicks and inquiries on platforms like Zillow and REALTOR.com. The same photos double as documentation for insurance and pre-listing records, tying visual presentation to financial protection in one step.
Budget Tiers for Visual Upgrades
Matching effort to resources prevents overspending on Tier 4 work while Tier 2 systems quietly degrade, and the table below shows typical cost ranges for the same visual upgrade at three budget levels.
| Upgrade | DIY Touch-Up | Mid-Range Upgrade | Professional Finish |
|---|---|---|---|
| Front door refresh | $50 paint + supplies | $300 new door + hardware | $1,200 installed |
| Landscaping | $100 mulch, plants | $500 shrubs, edging | $2,500 design + install |
| Interior paint (1,500 sq ft) | $300 supplies | $900 paint + labor | $3,000 full pro crew |
| Staging | $0 declutter + rearrange | $800 rented furniture | $3,000+ full service |
Documentation, Insurance, and Cost-Time Planning
Build a photo inventory of appliances, fixtures, and finishes to support insurance claims and buyer disclosures by walking the home with a phone or camera. Capture wide shots of each room plus close-ups of model and serial numbers on the HVAC unit, water heater, dishwasher, oven, and any built-in systems, then store the folder in cloud storage with a date stamp. After severe weather, fire, or water damage, that same folder becomes the difference between a fast, full claim and a six-month argument with an adjuster.
Review homeowner or renter policies annually, updating coverage limits and confirming claim-ready records exist, because a policy purchased five years ago rarely reflects current replacement costs, especially after kitchen or bathroom renovations. Add a rider for high-value items when needed and keep a printed copy of policy numbers and agent contacts in the emergency kit so you can act within minutes rather than hunting through email during a crisis.
Time and Cost Estimates by Task Tier
A simple matrix pairs common preparation tasks with realistic time commitments and cost ranges at each tier, drawn from HomeAdvisor cost data and contractor surveys.
| Task | DIY Time | DIY Cost | Pro Time | Pro Cost |
|---|---|---|---|---|
| Deep clean 1,500 sq ft | 6–8 hours | $80–$120 | 4 hours | $250–$400 |
| Patch + paint drywall | 3 hours per room | $40 materials | 1–2 days | $300–$600/room |
| Replace faucet | 1–2 hours | $80–$150 | 1 hour | $200–$350 |
| HVAC service | Not advised | , | 1 hour | $100–$200 |
| Pre-listing inspection | , | , | 3 hours on site | $300–$500 |
Seasonal Rhythms and Emergency Hardening
HVAC systems should be serviced annually to ensure efficiency and prevent breakdowns, ideally in early fall before heating season and in early spring before cooling season, with filters replaced every 60 to 90 days during heavy use. Insulate exposed pipes before the first sustained freeze and clean gutters ahead of heavy rain or snow so runoff moves away from the foundation, because each task takes less than an hour and prevents the kind of damage that runs into five-figure repairs. The Federal Emergency Management Agency (FEMA) recommends building these seasonal checks into a written home maintenance checklist reviewed every six months.
Assemble an emergency preparedness kit with one gallon of water per person per day for three days, flashlights, a battery-powered radio, first-aid supplies, and printed copies of shut-off instructions, then store the kit where every adult in the household can reach it without searching. Add a printed copy of policy numbers and agent contacts so claims can be filed from a phone or shelter, and pair the kit with a family communication plan that names an out-of-state contact for status updates during regional outages.
Severe Weather and Long-Term Resilience
Install storm shutters or surge protection where applicable, and document the home’s condition before and after severe weather events so pre-event photos speed up insurance claims and post-event photos document damage for adjusters. In hurricane or wildfire regions, the National Fire Protection Association (NFPA) maintains defensible-space guidance that pairs with property hardening, and the same photo-inventory habit used for routine insurance becomes the single most valuable record after a disaster.
Wrap Up
The single most important habit is sequencing: safety first, systems second, high-impact upgrades third, cosmetics last, and most preparation fails not because owners lack effort but because they skip a step or paint over a leak. Run the framework once, save the checklist, and revisit it every season, because a home that gets a 90-minute check twice a year stays out of emergency territory for the next decade.
FAQ
What should you do first when preparing your home?
Run a 30-minute safety sweep: test smoke and CO detectors, locate water and gas shut-offs, and check for active leaks or exposed wiring. Tier 1 hazards always come before cosmetic work, because they can injure occupants or cause thousands in damage within weeks.
How do you prepare a house for moving in?
Schedule a professional inspection before move-in day, deep clean kitchens and bathrooms, replace HVAC filters, and confirm every smoke and CO detector works. Photograph the empty rooms for a baseline record, then arrange furniture to preserve clear walking paths.
How long does it take to prepare a home?
A focused two-day sprint covers cleaning, decluttering, and minor repairs for an average single-family home. Full preparation including inspections, paint, and staging typically runs one to three weekends, depending on budget and DIY involvement.
What supplies do you need to prepare your house?
Stock a kit with all-purpose cleaner, disinfectant, microfiber cloths, a mop, a vacuum with attachments, spackle, sandpaper, painter’s tape, a basic tool set, replacement batteries, and new HVAC filters. Add a flashlight, a fire extinguisher, and printed shut-off instructions for the emergency layer.
How do you prepare your home for severe weather?
Photograph every room and major appliance before the event, clear gutters and downspouts, secure outdoor furniture, and assemble a three-day supply of water and essentials. After the event passes, photograph any damage immediately for insurance claims.